Alright so the fantasy league draft’s coming up, right? And my team name this year? Pure gold. But every site selling custom shirts wanted an arm and a leg, or their designs looked like something my grandma made in the ’90s. Figured, how hard can it be? Spoiler: kind of a nightmare, but we got there.
The Grand Plan & Materials Hunt
Wanted shirts that didn’t suck, basically. Thought about iron-on transfers first – seemed easy. Grabbed:
- A cheap pack of those printable transfer sheets from the craft store (huge mistake, stay tuned).
- Plain cotton shirts from the discount rack (figured better to ruin cheap ones first).
- My home printer, which is usually reliable.
- Scissors and an old iron.
Phase One: Graphic Design… Kinda
Spent waaaaay too long messing around online finding a decent logo that fit the team vibe. Found one, slapped our team name “The Gridiron Goons” under it using some free design website. Looked decent on screen. Printed it onto the transfer paper. Easy part done. Or so I thought.
The Ironing Disaster
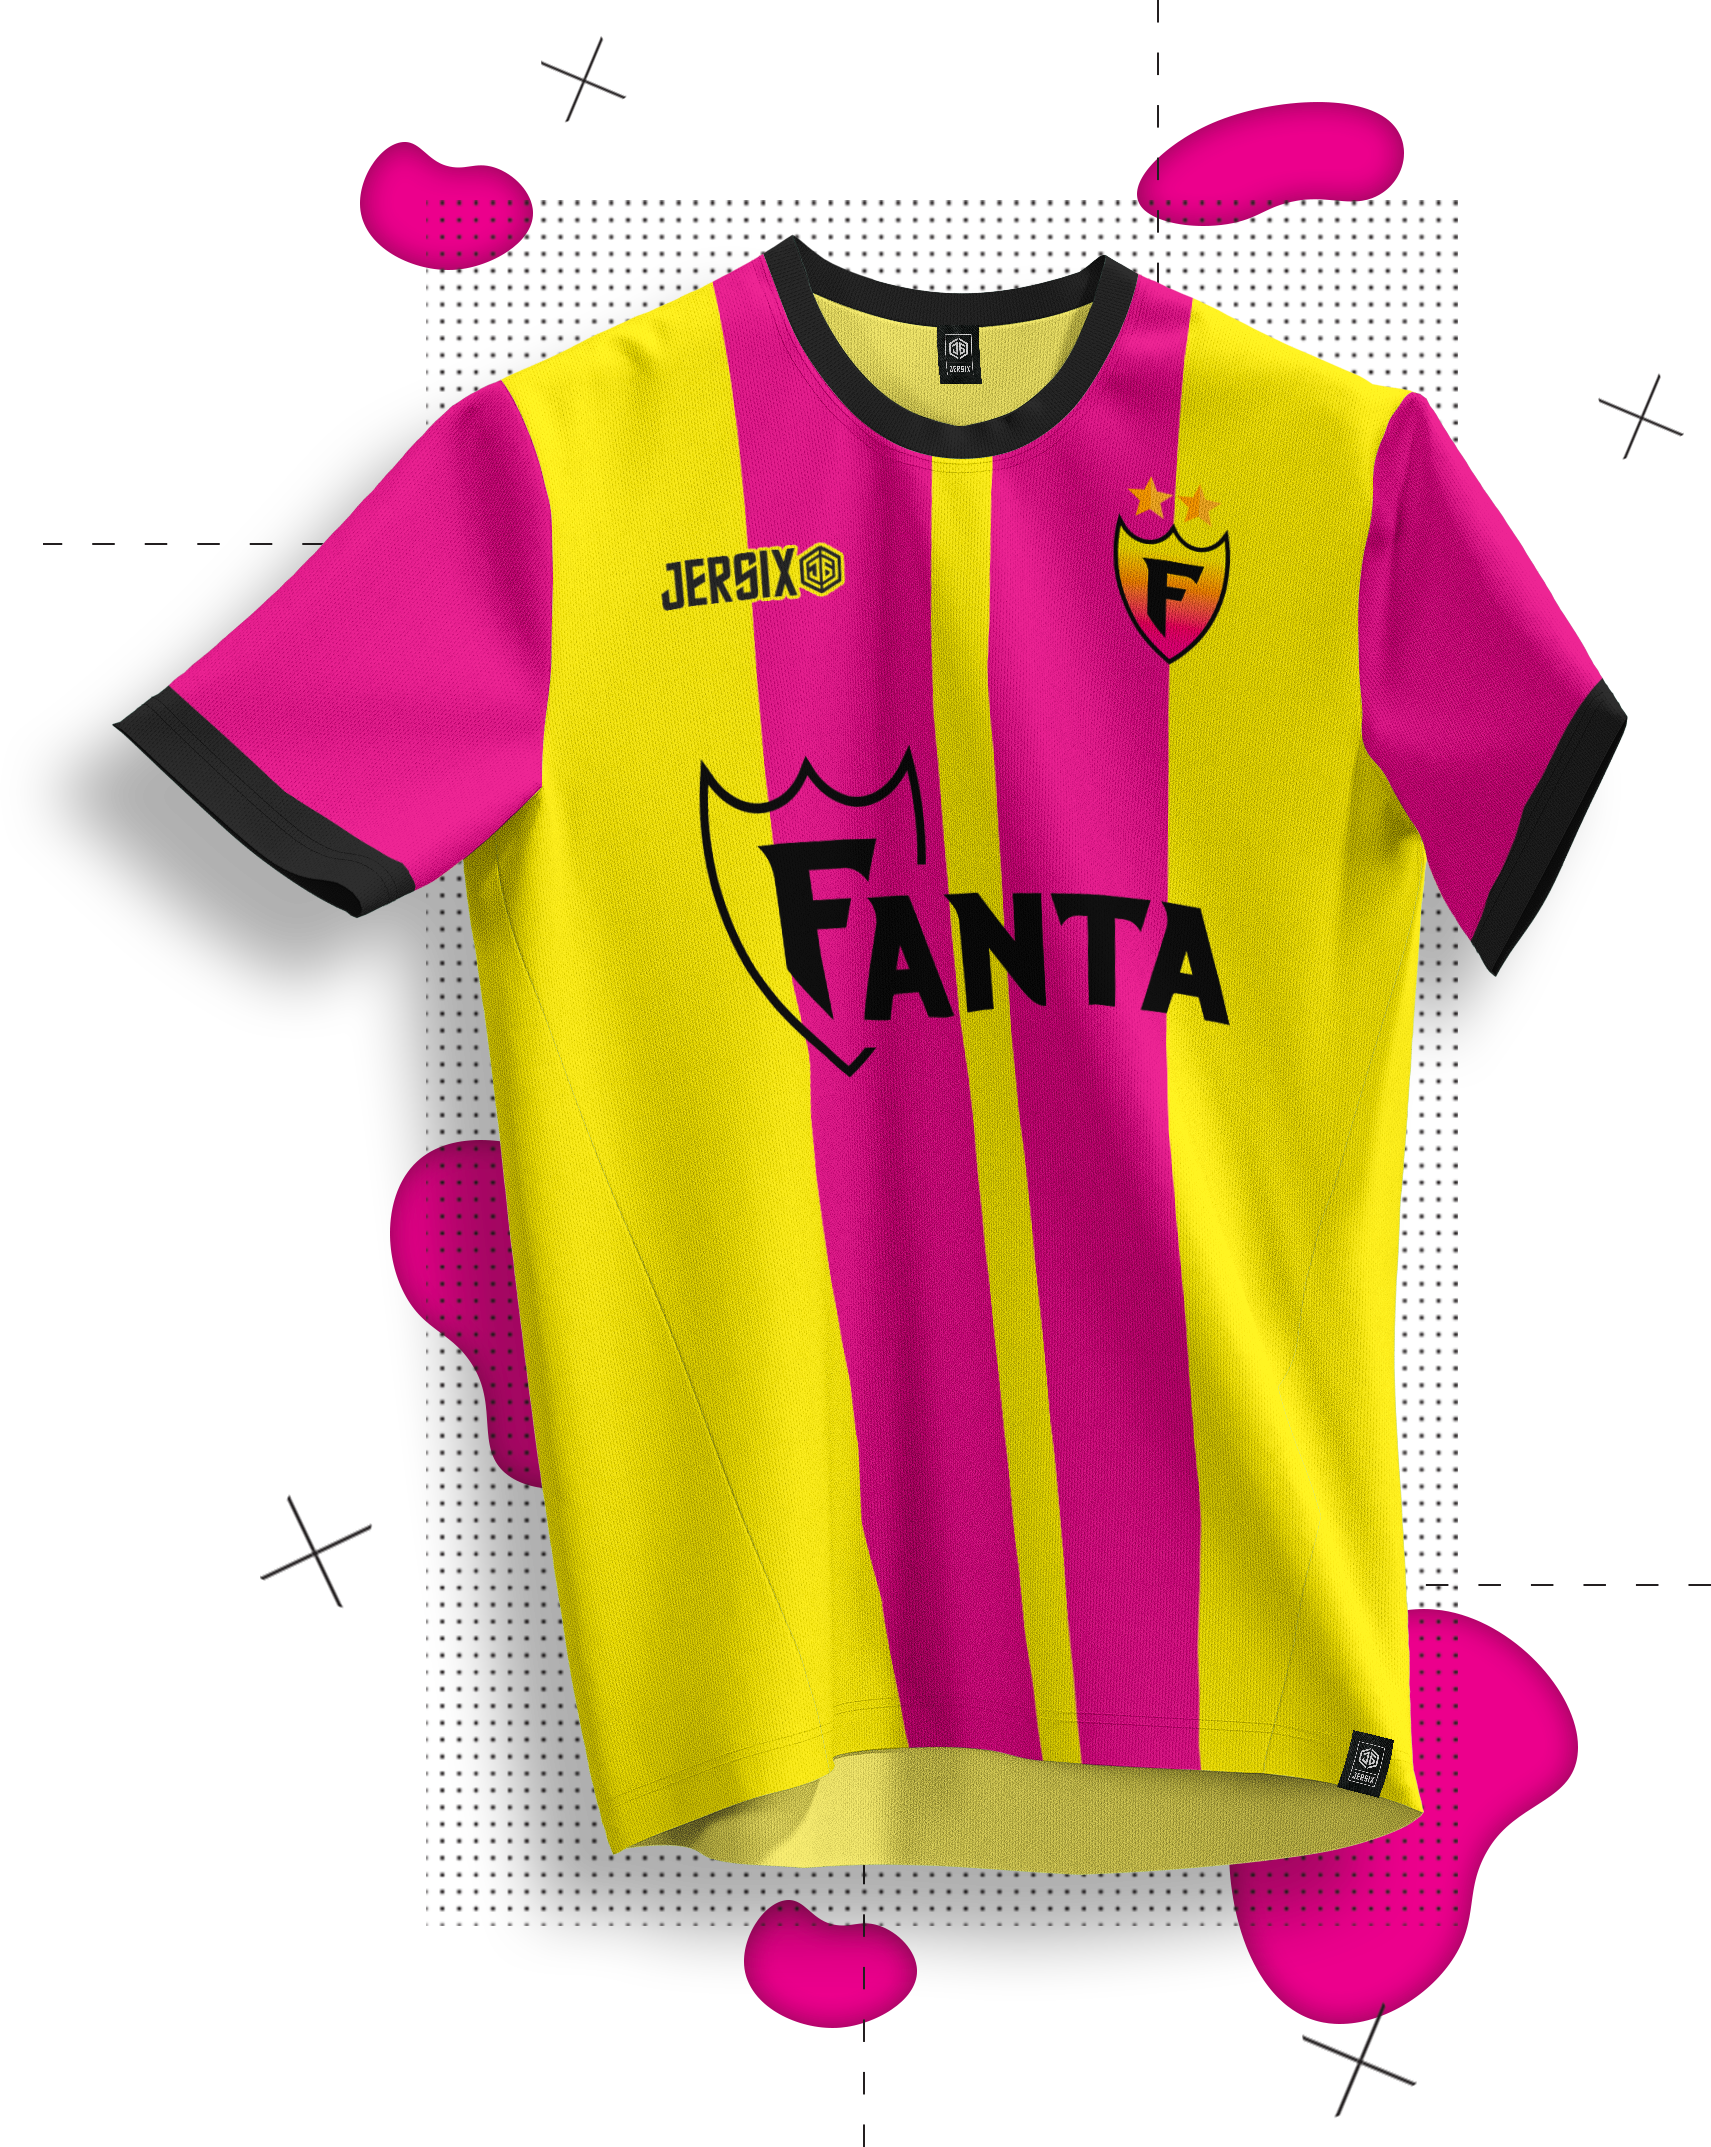
Followed the instructions on the transfer paper pack exactly. Peeling off the backing felt like defusing a bomb. Pressed that iron down hard, moving it slowly, sweating over the steam. Peeked under the corner. The colors? Horribly faded. Like washed-out garbage. Whole image felt plasticky and rough. Peeling it all the way revealed wrinkles galore and bits where the ink just… lifted off with the paper. Total disaster shirt. My disappointment was immeasurable.
Plan B: Fabric Paint Desperation
Okay, scratch transfers. Too flimsy. Ran back to the craft store feeling defeated. Found spray-on fabric adhesive and some fabric paint markers. New plan: Stick a stencil on the shirt and fill it in. Tried cutting my own stencil from cardboard. Cutting intricate details freehand? Nightmare. Jagged edges everywhere. Sprayed the adhesive to hold it down on shirt #2. Spray adhesive is vicious stuff – sticky fingers for hours, fumes cleared out my sinuses. Tried coloring inside the lines with the paint markers. Paint bled under the stencil edges like crazy. Smudged. Looked like a kindergartener did it. Shirt #2? Also garbage.
The Actual Solution (Thanks, Internet!)
Almost gave up. Then found a buddy online who does this stuff. His advice? Simple is better for DIY. Gave up on complex logos.
- Grabbed heavy-duty vinyl cut in my team colors (black and safety yellow).
- Found a local print shop that charged like $5 to cut me a simple stencil based on my design file.
- Borrowed his Cricut heat press machine.
Took the pre-cut vinyl shapes, positioned them on plain shirt #3. Covered it with parchment paper. Slapped that heat press down for the time and pressure he recommended. Slowly peeled it off while it was still warm. Boom. Crisp lines, bold colors, felt soft on the shirt. FINALLY a winner.
Took way longer and cost more than planned initially (especially after the first two botched shirts and buying multiple supplies). But seeing everyone wear actual decent “Gridiron Goons” shirts on draft night? Worth the headache. Mostly. Would I iron-on again? Absolutely not. Will I pay for pro vinyl cutting next time? One hundred percent yes. Save yourself the agony unless you love a real craft struggle.
